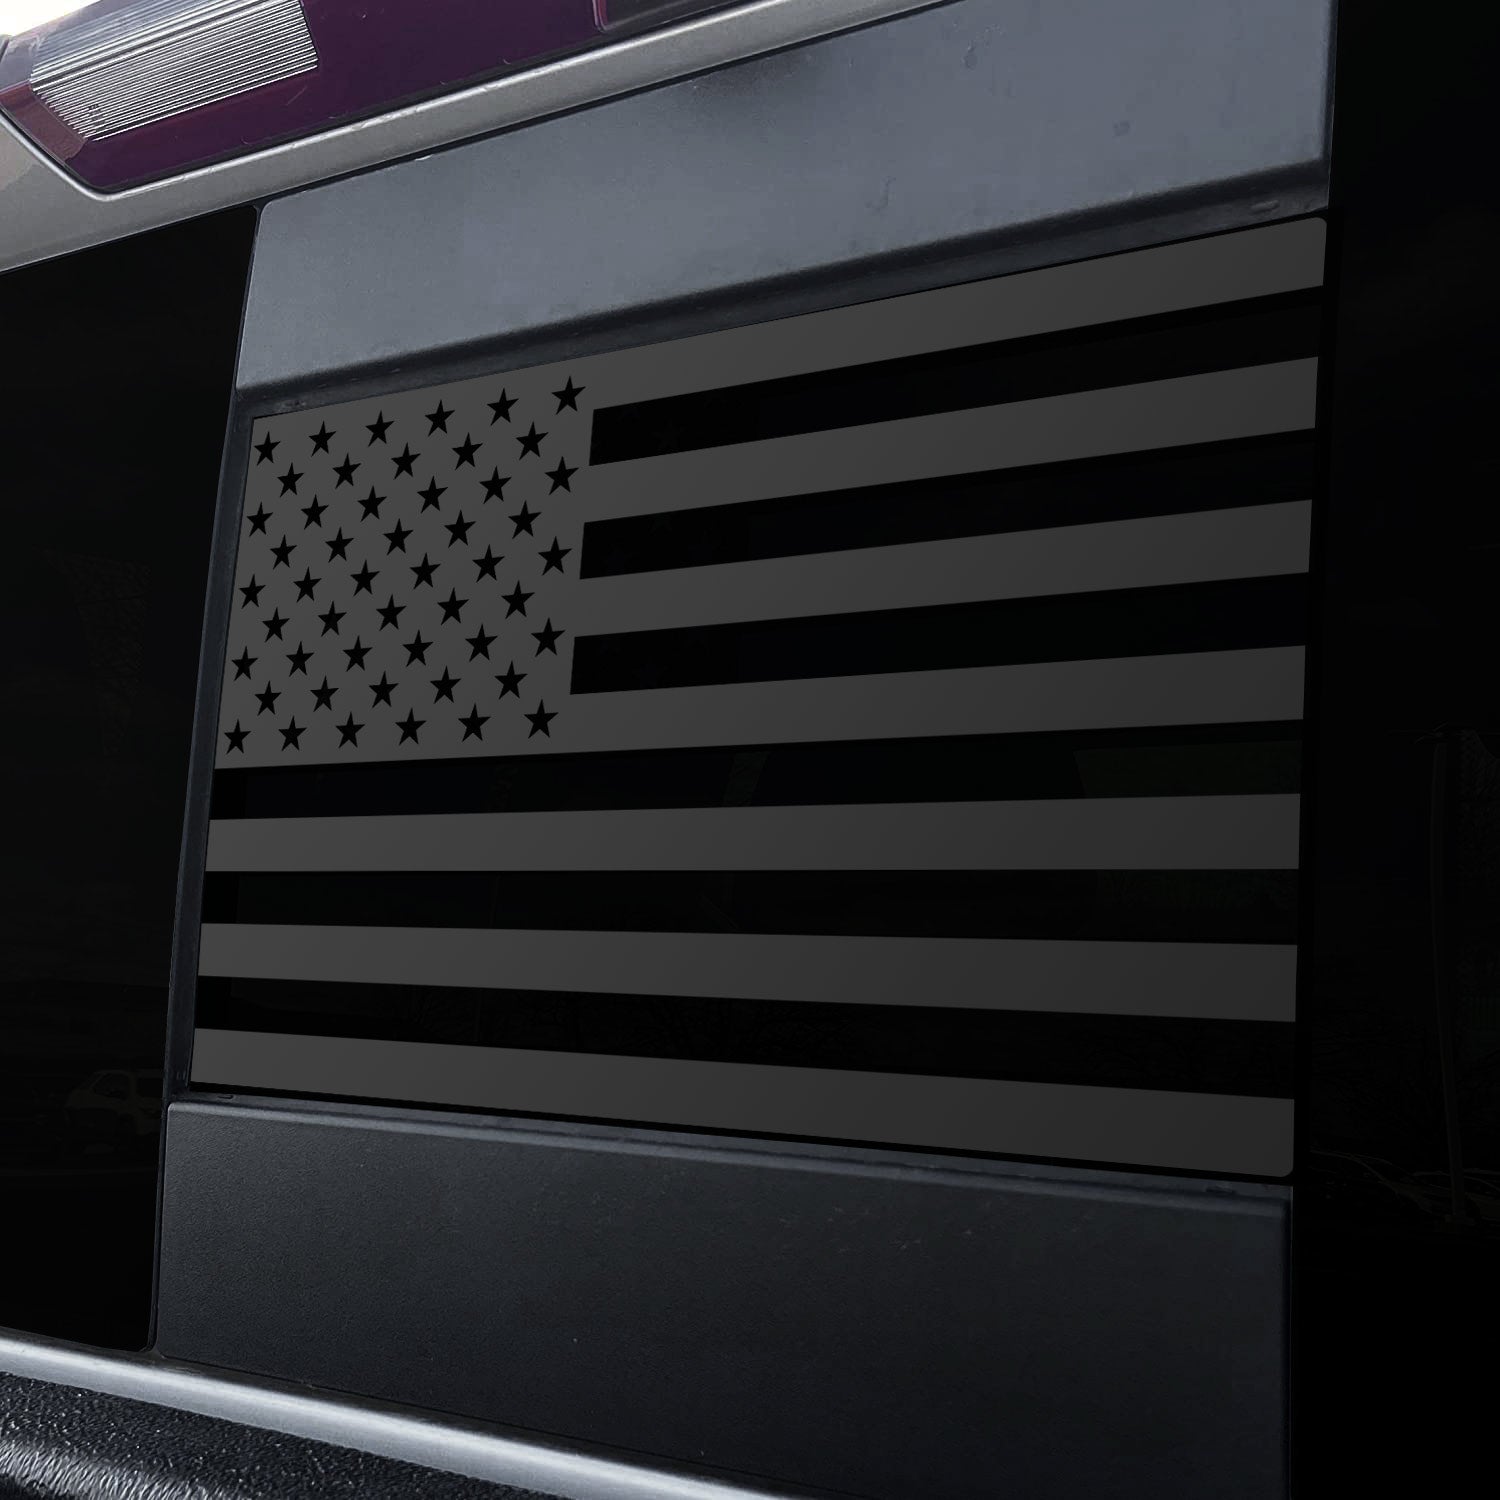
How to Install GMC Canyon Rear Middle Window Decal
Clean Window
Thoroughly clean the window area where the decal will be installed. Make sure to clean it very well to remove any recent waxings or coatings. After you have cleaned the window clean with isopropyl alcohol to remove any remaining residue.
Prep Decal
If your decal has square corners, trim the corners so they are round. Follow the edge of the black decal itself while trimming. Make sure not to cut the decal material.
Test Fit
Hold the decal up to the window so you can test fit it. Get a feel of where the decal will be placed.
Remove Backing Paper
You can now remove the backing paper from the decal. Be careful not to let the decal’s sticky back wrap around itself or touch anything. This could cause it to stick to itself and create creases.
Mist Window & Decal With Water
If you would like to make the install process easier, mist the window and the back of the decal well with water. Use a misting bottle to spray the water mist evenly.
Place The Decal
You can now place the decal on the window. You can gently move the decal a bit to position it correctly. The water allows the decal to be gently repositioned.
Squeegee Out Water
Starting from the center of the decal, squeegee out the water from between the decal and window. You can use an actual squeegee or a credit card to work out the water. You can also work out any bubbles. Make sure to start from the center of the decal and work outward. If you do not follow this step you can create creases or wrinkles. Take your time and don’t apply a lot of force.
Remove Application Tape
Starting from the corner of the decal, peel back the clear application tape. Starting in a spot that has no black decal will make this process easier. Slowly peel back the clear application tape. While peeling back the application tape take your time and peel in a 180 opposite direction for the cleanest removal. Be careful not to pull up the decal itself from the window.
Let Decal Dry
When using water for any automotive decal install we highly recommend that you let the decal dry for three days in 60 degree or higher temp weather. Over the next couple of days, you can gently work out any remaining bubbles in the decal with a soft-edged squeegee. If your squeegee has a hard edge we recommend you wrap it with a soft cloth so you do not scratch the decal. Small bubbles will disappear over time as the decal continues to dry.
