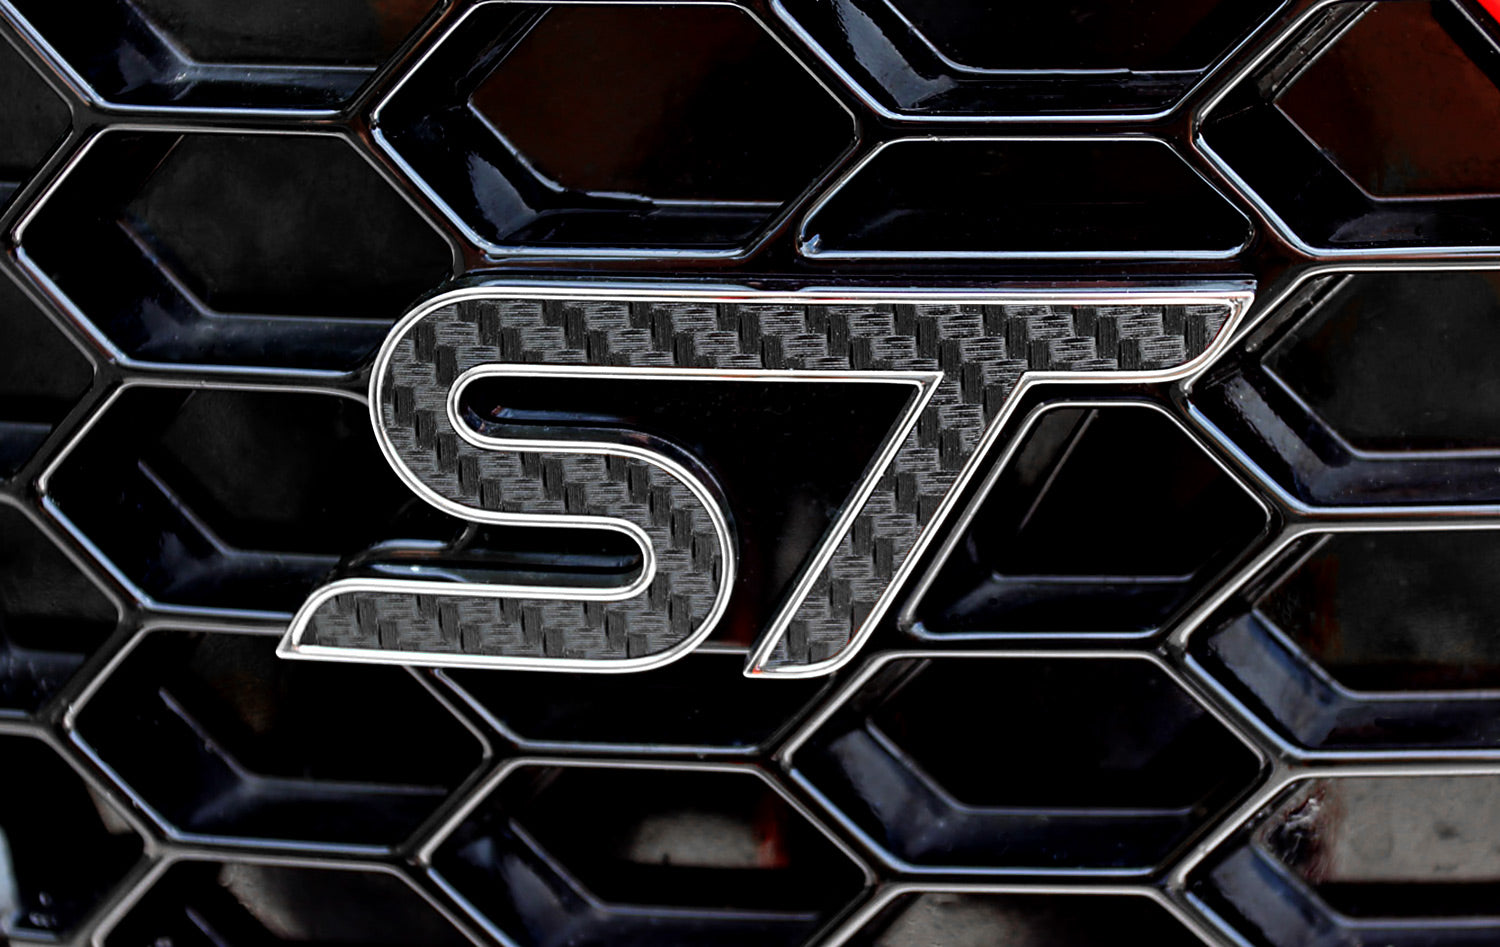
Installing Explorer ST Emblem Insert Decals
Note: Do not install in weather below 50 degrees.
Note: These decals are designed for an exact fit. If you see any red after install there is an alignment issue with installation. Please adjust your decal until the red is no longer visible.
Clean Factory Emblem
Make sure you thoroughly clean the ST emblems to remove any dirt or grease, so that the decals stick appropriately.
Use the included alcohol prep pads to clean the red inner portion of the emblem. It is also recommended to use a q-tip with rubbing alcohol to clean the inner crevices of the emblem thoroughly.
Note: Failure to properly clean your emblems can result in the decals peeling and/or shortening the life of the decal.
Do Not Use Water
Carbon fiber decals do not need water for installation. We do not recommend using water during your installation.
Align Decal Inside Emblem
Note: Your decal inserts are designed for an exact fit. They will cover the red portion of the ST emblem but may require tweaking, due to factory inconsistencies with the ST emblem.
Carefully align the decals inside the ST emblem. Make sure to cover the red portion of the emblem. If you are seeing red after placing the decal you can carefully move and lightly stretch a portion of the decal if needed and reapply that portion.
Press Into Place
With a soft, lint-free, cloth over your finger, press the decal into its final place. You can also add heat with a heat gun or hairdryer to help activate the adhesive.
Heat Decals
The decals have an automotive-grade adhesive on the back of the material. It is recommended that you heat the decals up lightly with a heat gun or hairdryer to help activate the adhesive further. While the material is warm you can lightly press the decal into the emblem to secure the adhesion.
